Code along video
Although we strongly suggest coding along with us by following the video above, you can find completed code from the code along in our course code repository.
Learning objectives
In this code along, we will give an introduction to graphics in Python using the pygame library. We will use this foundation to draw a snowperson using circles, rectangles, and lines. We will then apply our graphics knowledge to a new project: representing a Game of Life board as a two-dimensional boolean array and visualizing it with pygame. This will set us up to implement the Game of Life automaton in the next code along.
Code along summary
Setup
To complete this code along as well as other code alongs relying on graphics in this and following chapters, you will use a popular Python graphics library called pygame, which will help us draw objects and generate images.
First, install pygame by opening a command line terminal and executing the command pip3 install pygame (on macOS/Linux) or pip install pygame (on Windows).
In python/src, create a folder drawing, then create main.py inside it with the following contents. Note that we import the pygame package at the top.
import pygame

def main():
    print("Drawing a snowperson.")


if __name__ == "__main__":
    main()
Understanding Pygame: our library for drawing
The pygame library allows us to create a graphical window for our programs. We will cover more about object-oriented programming in a future chapter, but for now, think of a pygame window as a rectangular screen with a specified width and height, similar to the screen you are reading this on. The width and height are measured in pixels, where each pixel is a tiny point on the screen that can be colored individually.
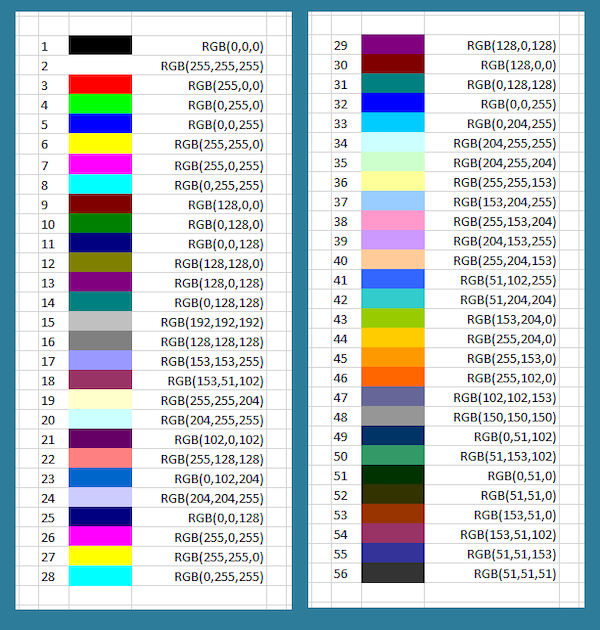
In the RGB color model, every rectangular pixel on a computer screen emits a single color formed as a mixture of differing amounts of the three primary colors of light: red, green, and blue (hence the acronym “RGB”). The intensity of each primary color in a pixel is expressed as an integer between 0 and 255, inclusive, with larger integers corresponding to greater intensities.
A few colors are shown in the figure below along with their RGB equivalents; for example, magenta corresponds to equal parts red and blue. Note that a color like (128, 0, 0) contains only red but appears duskier than (255, 0, 0) because the red in that pixel is less intense.
The functions from pygame that we will need in this and the next code along are listed below. However, a best practice for using Python libraries is to refer to the online API provided here to understand functions and objects in the library: https://www.pygame.org/docs/. We will say more about these functions as they are needed. (Links are provided for specific documentation of each function below for those who are interested.)
pygame.Surface.fill(): Fills the Surface with a solid color. (link)pygame.draw.circle(): draw a circle. (link)pygame.draw.rect(): draw a rectangle. (link)pygame.draw.line(): draw a line. (link)pygame.init(): initialize all imported pygame modules. (link)pygame.Surface(): pygame object for representing images. (link)pygame.image.save(): save an image to file. (link)pygame.quit(): uninitialize all pygame modules. (link)
Creating a blank canvas
In main(), we initialize pygame by calling pygame.init(). Even though we won’t open a window, pygame still needs to set up its internal modules before we can create surfaces or draw anything.
def main():
    print("Drawing a snowperson.")

    # Initialize pygame but don't open window
    pygame.init()
Next, we create a canvas that we can draw on by constructing a new pygame.Surface. We will make our canvas 1000 pixels wide and 2000 pixels tall.
def main():
    print("Drawing a snowperson.")

    # Initialize pygame but don't open window
    pygame.init()

    # Create an off-screen surface
    width, height = 1000, 2000
    surface = pygame.Surface((width, height))
Next, we will define some colors using RGB values. black = (0, 0, 0)white = (255, 255, 255) is full light for all three channels, and red = (255, 0, 0)
def main():
    print("Drawing a snowperson.")

    pygame.init()

    width, height = 1000, 2000
    surface = pygame.Surface((width, height))

    black = (0, 0, 0)
    white = (255, 255, 255)
    red = (255, 0, 0)
Next, we paint the entire surface with black by calling surface.fill(black).
def main():
    print("Drawing a snowperson.")

    pygame.init()

    width, height = 1000, 2000
    surface = pygame.Surface((width, height))

    black = (0, 0, 0)
    white = (255, 255, 255)
    red = (255, 0, 0)

    # Fill canvas with black
    surface.fill(black)
Note:surface.fill()is a method (a function that is part of theSurfaceobject) that fills the entire surface with the input color. More information on how to define these functions for objects will be discussed in a future code along.
We can convert our surface to an image by saving it to a PNG so that it can be viewed outside of Python. We call the function pygame.image.save() to produce this PNG, which we will call "snowperson.png".
After we have drawn the face, we call pygame.quit() to shut down all Pygame modules and release all resources. This step is important to prevent memory leaks and save memory and properly close Pygame’s internal systems.
def main():
    print("Drawing a snowperson.")

    pygame.init()

    width, height = 1000, 2000
    surface = pygame.Surface((width, height))

    black = (0, 0, 0)
    white = (255, 255, 255)
    red = (255, 0, 0)

    surface.fill(black)

    pygame.image.save(surface, "snowperson.png")

    pygame.quit()
Although we have not yet written code to draw the snowperson, let’s run our code so that we can see what is produced.
STOP: In a new terminal window, navigate into our directory usingcd python/src/drawing. Then run your code by executingpython3 main.py
(macOS/Linux) orpython main.py(Python).
After running your code, you should see the achievement of modern art shown below appear as snowperson.png in your python/src/drawing directory.

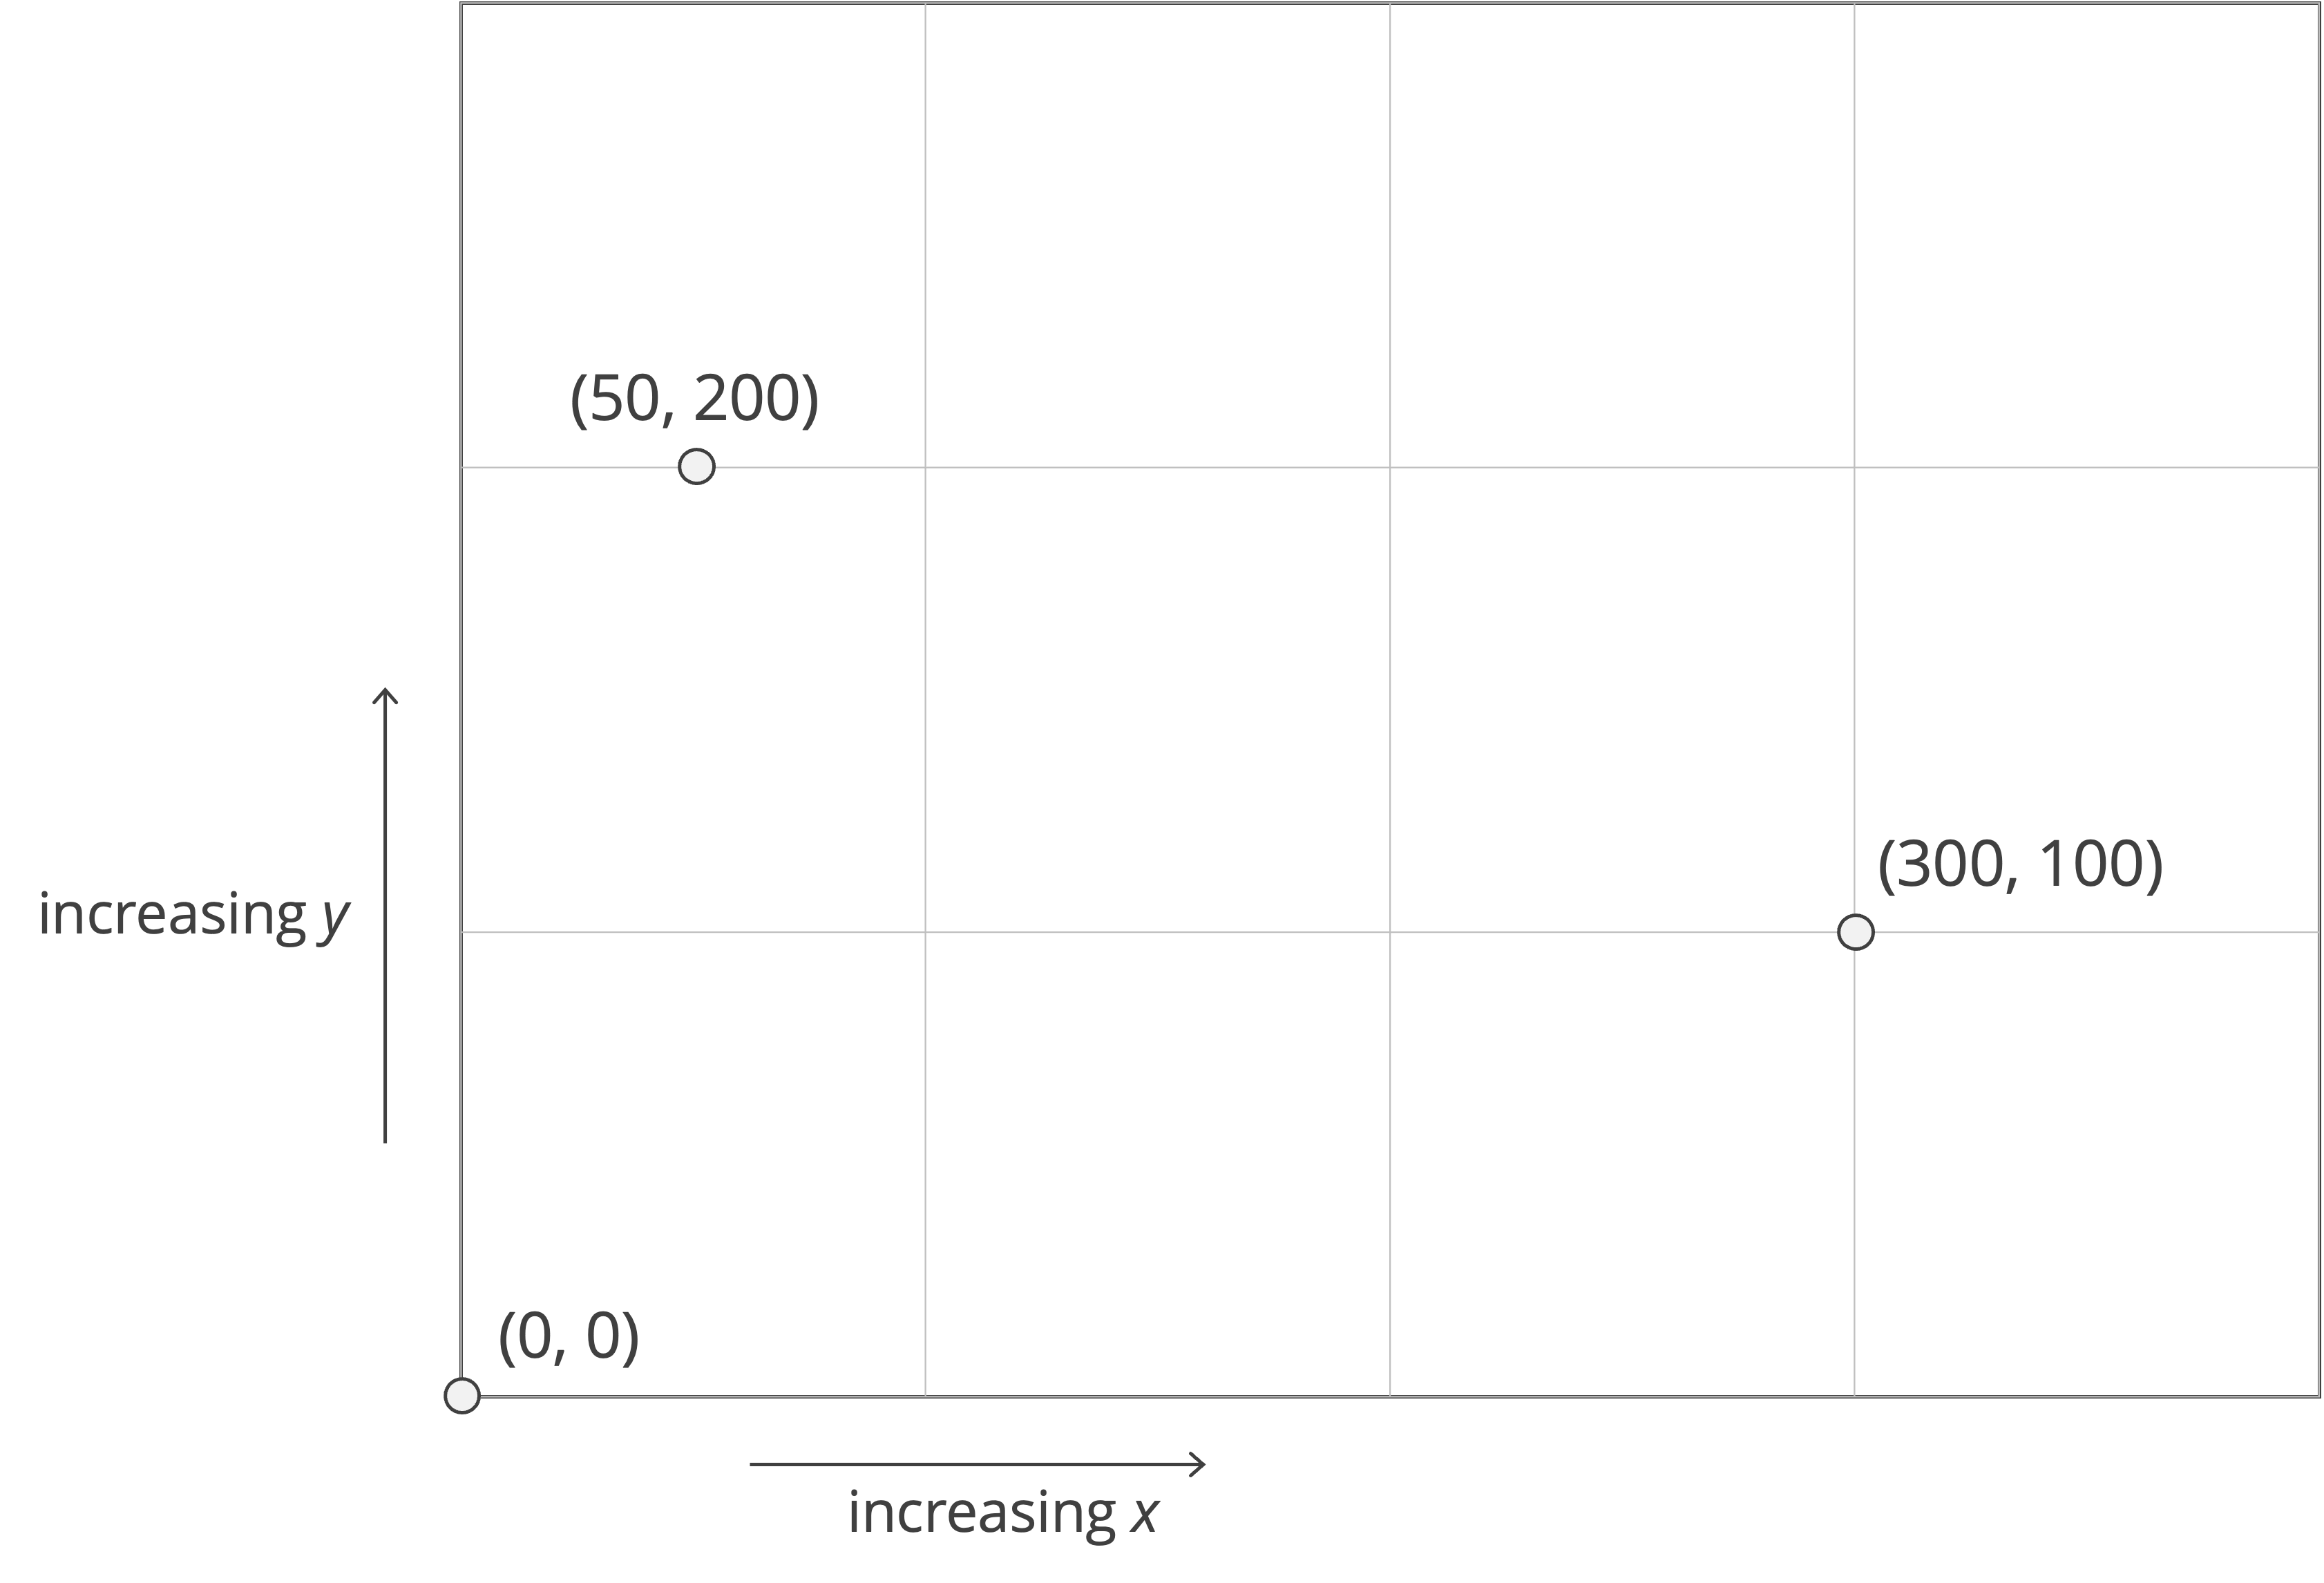
The graphics coordinate system
Before adding parts of our snowperson to the drawing, we need to understand the pygame coordinate system. In the Cartesian plane that we are accustomed to working with in mathematics, increasing x-coordinates extend to the right, and increasing y-coordinates extend upward.
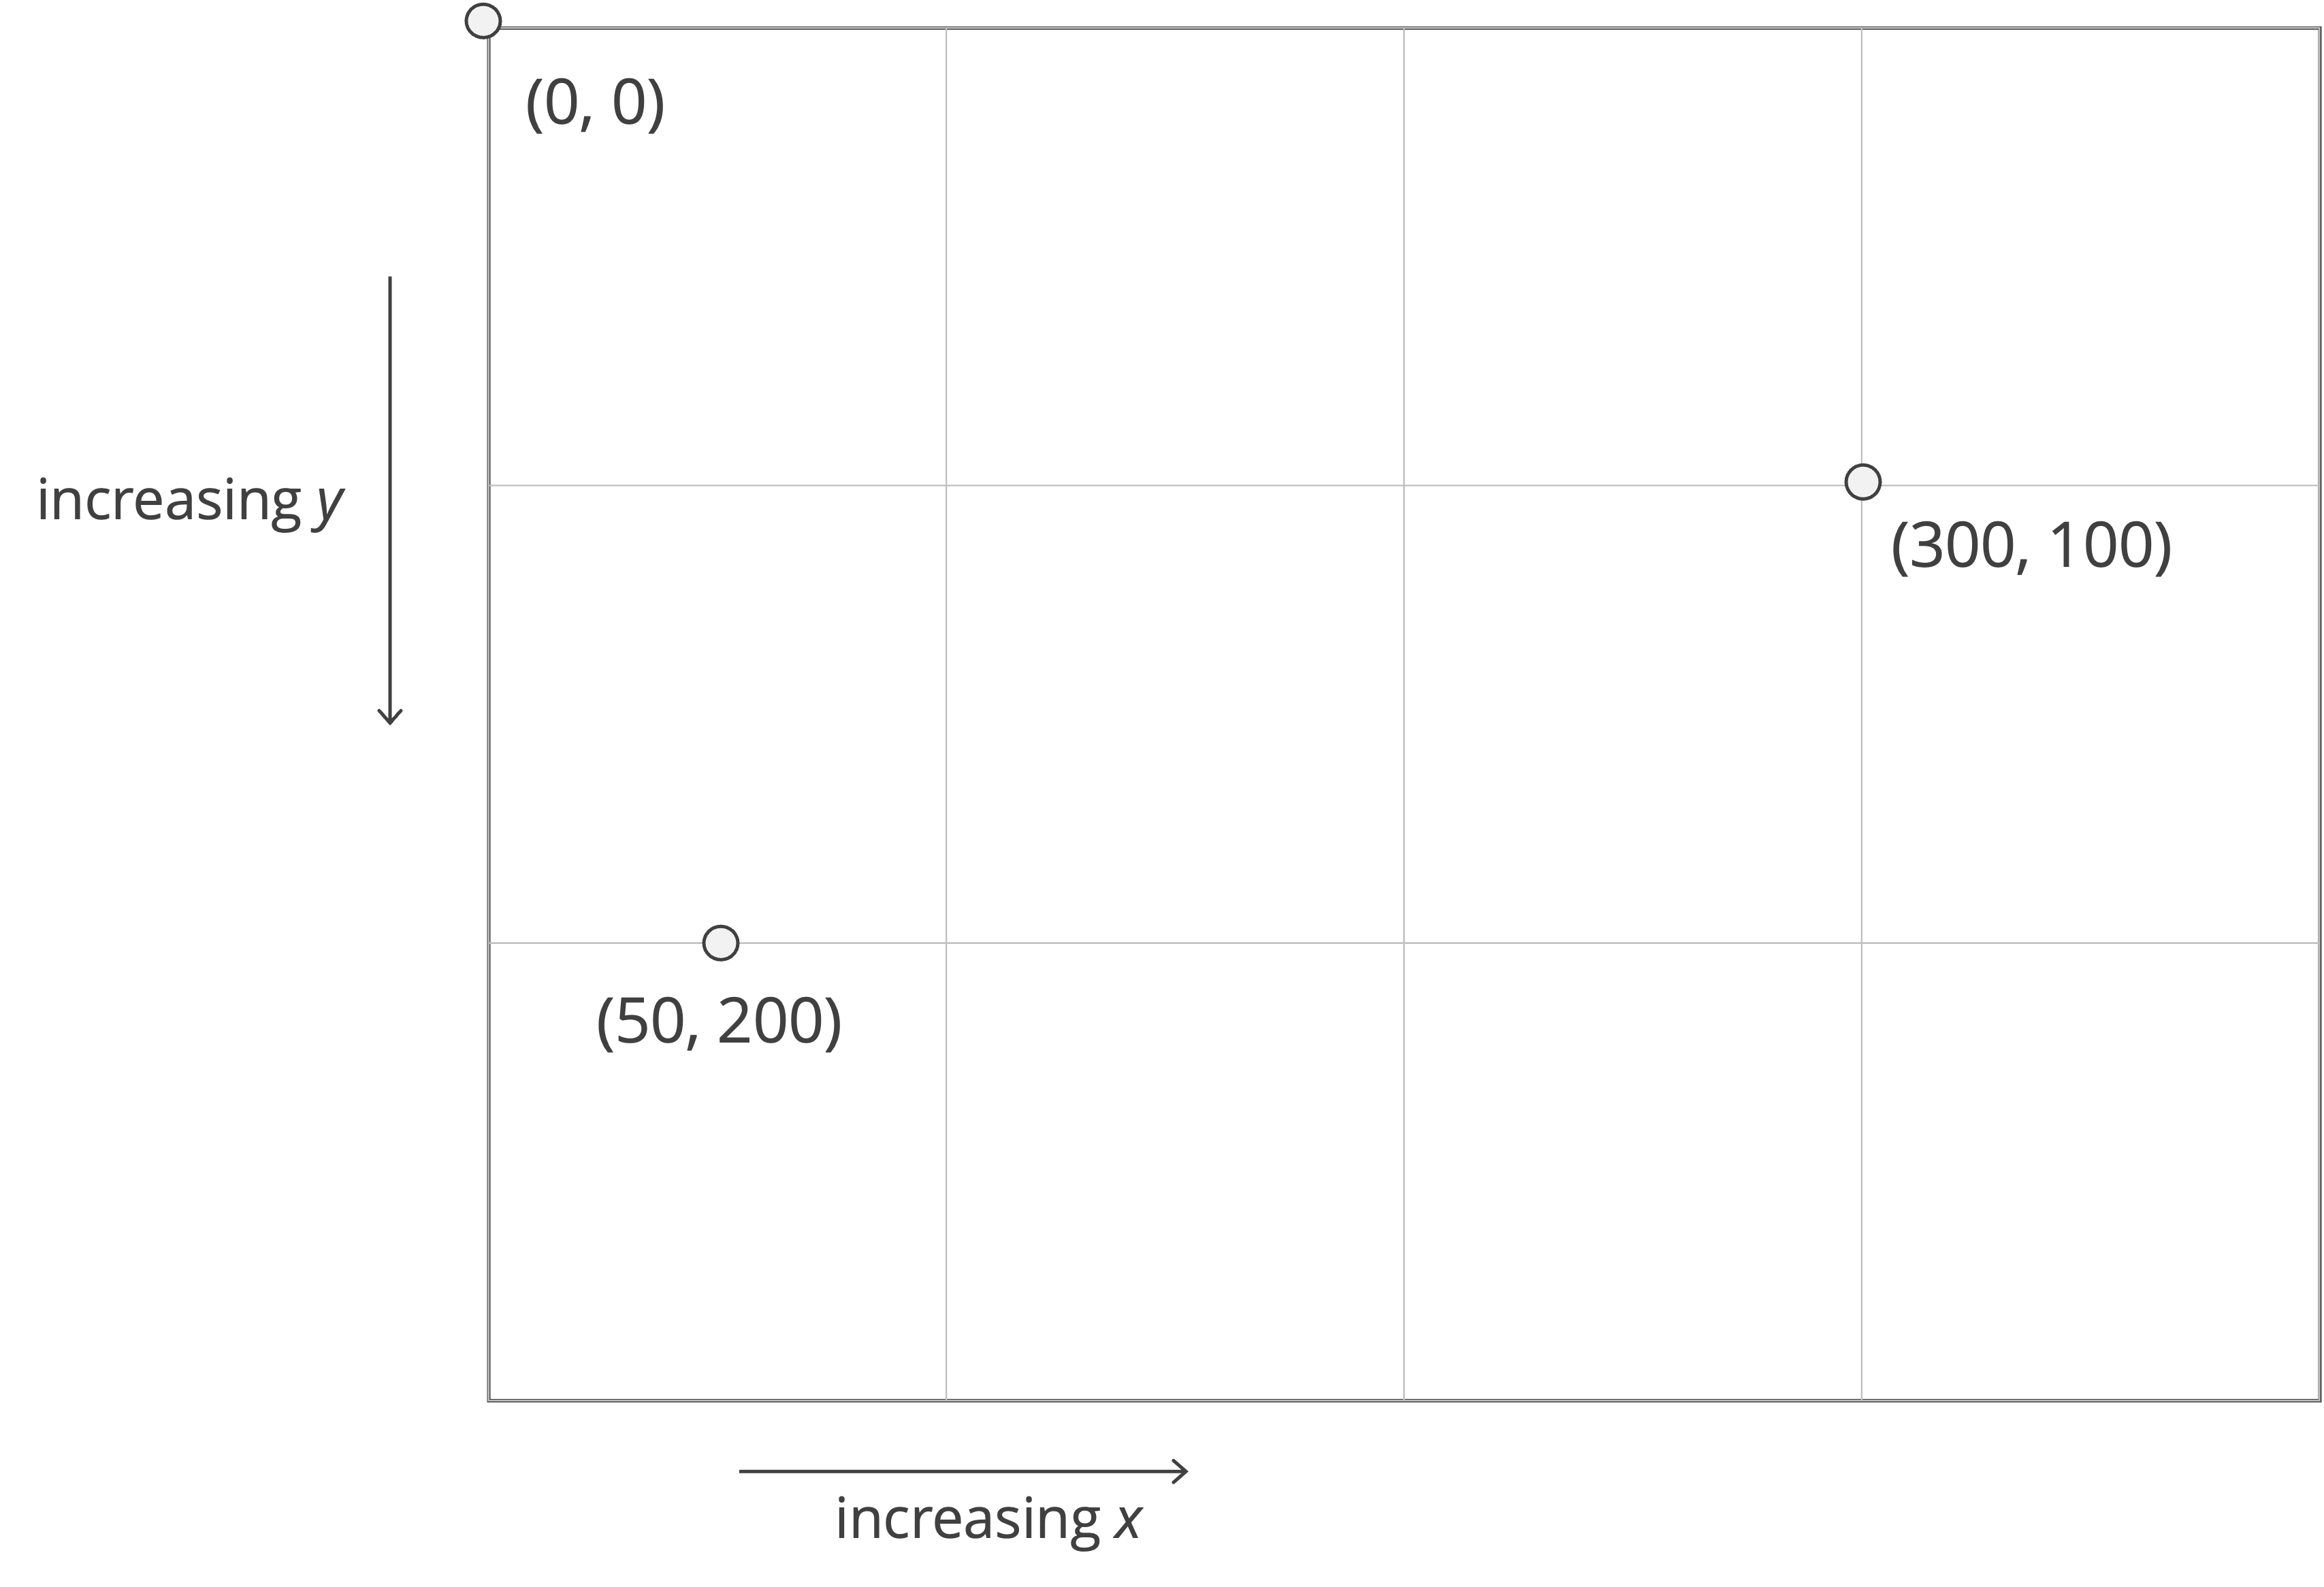
However, graphics uses a different standard that dates to the foundation of computing. Many graphics packages (pygame included) use the standard of viewing the top left corner of a window as an “origin”, with increasing x-coordinates extending to the right, and increasing y-coordinates extending downward.
Drawing the snowperson
Rather than placing all our drawing code inside def main(), we will call a function named draw_snowperson(). This function will take our surface as input so that it knows which canvas to draw on, as well as the colors that we plan to use. We update def main() to include the call to draw_snowperson().
def main():
    print("Drawing a snowperson.")

    pygame.init()

    width, height = 1000, 2000
    surface = pygame.Surface((width, height))

    black = (0, 0, 0)
    white = (255, 255, 255)
    red = (255, 0, 0)

    surface.fill(black)

    draw_snowperson(surface, black, white, red)

    pygame.image.save(surface, "snowperson.png")

    pygame.quit()
We will now implement draw_snowperson(). This function will take the surface as input (our canvas) along with the colors we want to use. Inside draw_snowperson(), we will call three helper functions: draw_head(), draw_middle(), and draw_bottom(). For now, we will comment out the latter two functions so that we can run the code as soon as we finish draw_head().
def draw_snowperson(
    surface: pygame.Surface,
    black: tuple[int, int, int],
    white: tuple[int, int, int],
    red: tuple[int, int, int],
) -> None:
    draw_head(surface, black, white, red)
    # draw_middle(surface, black, white)
    # draw_bottom(surface, black, white)
Drawing the head
We will now add a head to surface, which will appear as a white circle near the top of the canvas. To do so, we will call the pygame.draw.circle() function. Remember when your geometry teacher told you that a circle is defined by its center and its radius? We know that you don’t remember it, but it is nevertheless true. We will now use this fact by calling pygame.draw.circle(), which takes four parameters as input:
surfacecolor(255, 0, 0)center(x, y)radius
We want the head to lie in the top part of the rectangle, halfway across from left to right. Because the canvas is 1000 pixels wide, we know that the x-coordinate of the circle’s center should be 500. In order to have the same amount of space on the top, left, and right, let’s make its y-coordinate 500 as well; that is, the circle’s center will be 400 pixels from the top. As for the radius, let’s set it to be 180 pixels. As a result, we will call pygame.draw.circle(surface, white, (500, 400), 180)
def draw_head(
    surface: pygame.Surface,
    black: tuple[int, int, int],
    white: tuple[int, int, int],
    red: tuple[int, int, int],
) -> None:
    pygame.draw.circle(surface, white, (500, 400), 180)
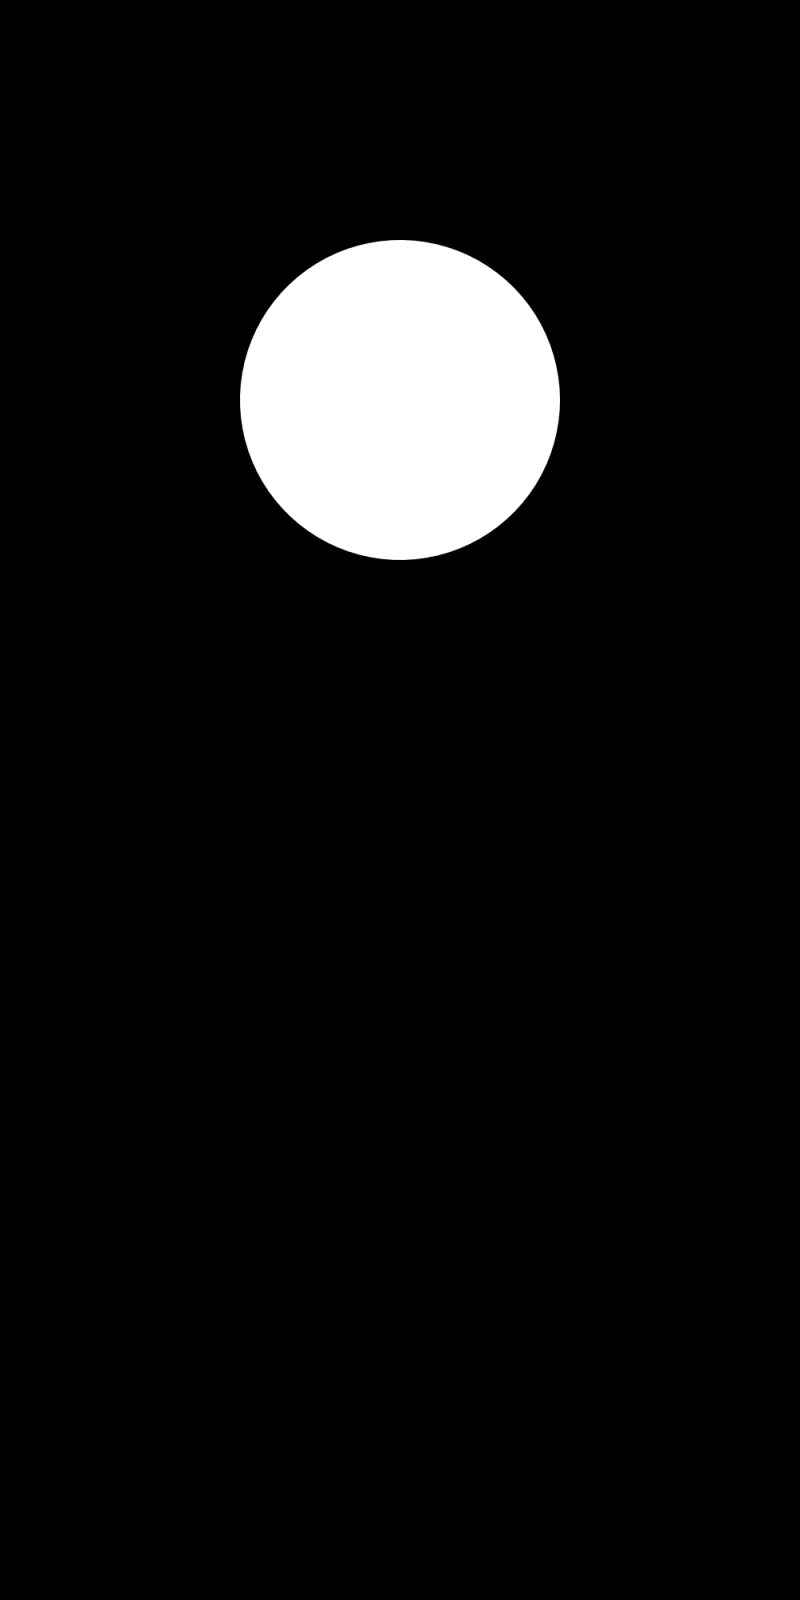
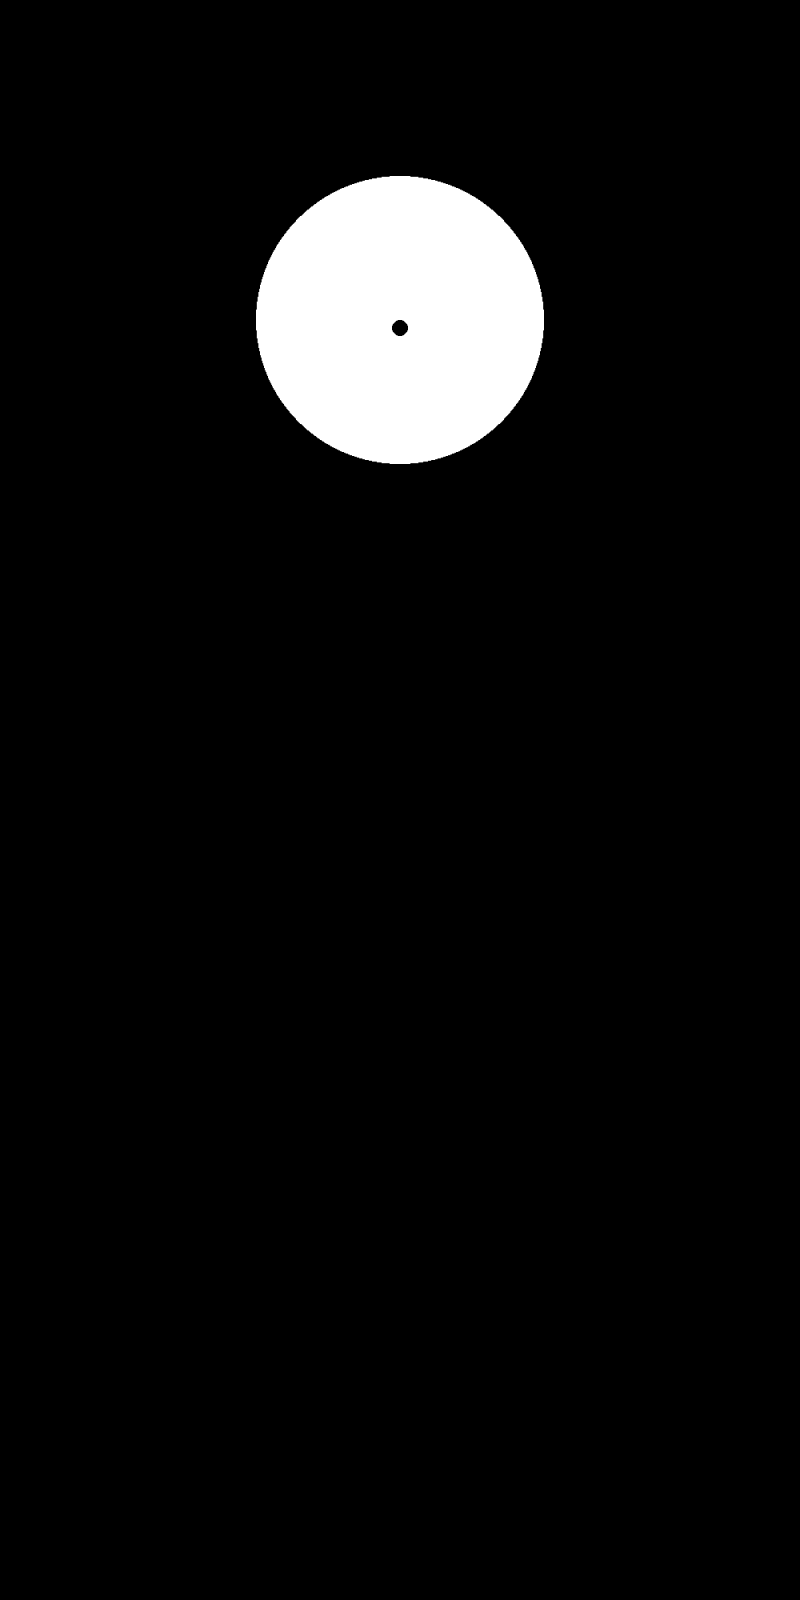
When we run our code again, we obtain the head below as snowperson.png.
Adding facial features to the head
Now that we have a head, it is time to give our snowperson a personality (or at least some facial features). We will add eyes, a nose, eyebrows, and a mouth.
We will start with a nose, which we will draw as a small black circle slightly below the eyes. The nose’s x-coordinate stays at 500 (we respect symmetry), and we’ll place it at y-coordinate 410. We will give it radius 10 pixels.
def draw_head(
    surface: pygame.Surface,
    black: tuple[int, int, int],
    white: tuple[int, int, int],
    red: tuple[int, int, int],
) -> None:
    pygame.draw.circle(surface, white, (500, 400), 180)

    # add nose (black circle)
    pygame.draw.circle(surface, black, (500, 410), 10)
Next we add two circular black eyes. We will place them slightly above the center of the head. Since our head is centered at (500, 400), let’s put the eyes at y-coordinate 360. We will move them 60 pixels left and right of the center line, so their x-coordinates will be 440 and 560. We will set their radii to 15 pixels so that our snowperson can actually see.
def draw_head(
    surface: pygame.Surface,
    black: tuple[int, int, int],
    white: tuple[int, int, int],
    red: tuple[int, int, int],
) -> None:
    pygame.draw.circle(surface, white, (500, 400), 180)

    # add nose (black circle)
    pygame.draw.circle(surface, black, (500, 410), 10)

    # add eyes (black circles)
    pygame.draw.circle(surface, black, (440, 360), 15)
    pygame.draw.circle(surface, black, (560, 360), 15)
Running our code produces the unsettling stare shown below.
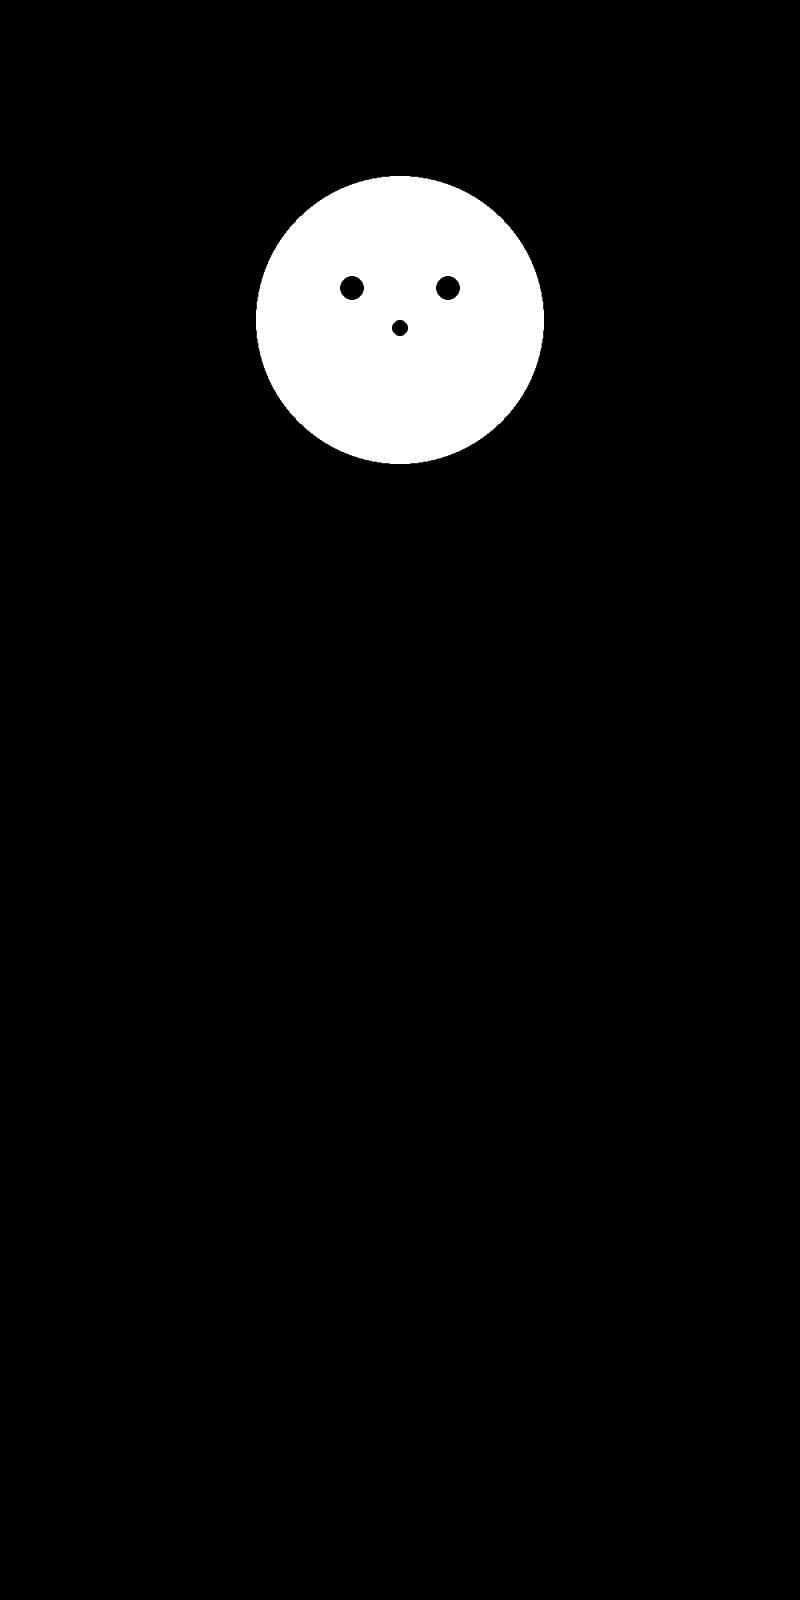
Now for a mouth. We will make it a red rectangle so that we can use pygame.draw.rect(). This function takes (x, y, width, height)(x, y)
def draw_head(
    surface: pygame.Surface,
    black: tuple[int, int, int],
    white: tuple[int, int, int],
    red: tuple[int, int, int],
) -> None:
    pygame.draw.circle(surface, white, (500, 400), 180)

    # add nose (black circle)
    pygame.draw.circle(surface, black, (500, 410), 10)

    # add eyes (black circles)
    pygame.draw.circle(surface, black, (440, 360), 15)
    pygame.draw.circle(surface, black, (560, 360), 15)

    # add mouth (red rectangle)
    pygame.draw.rect(surface, red, (430, 450, 140, 20))
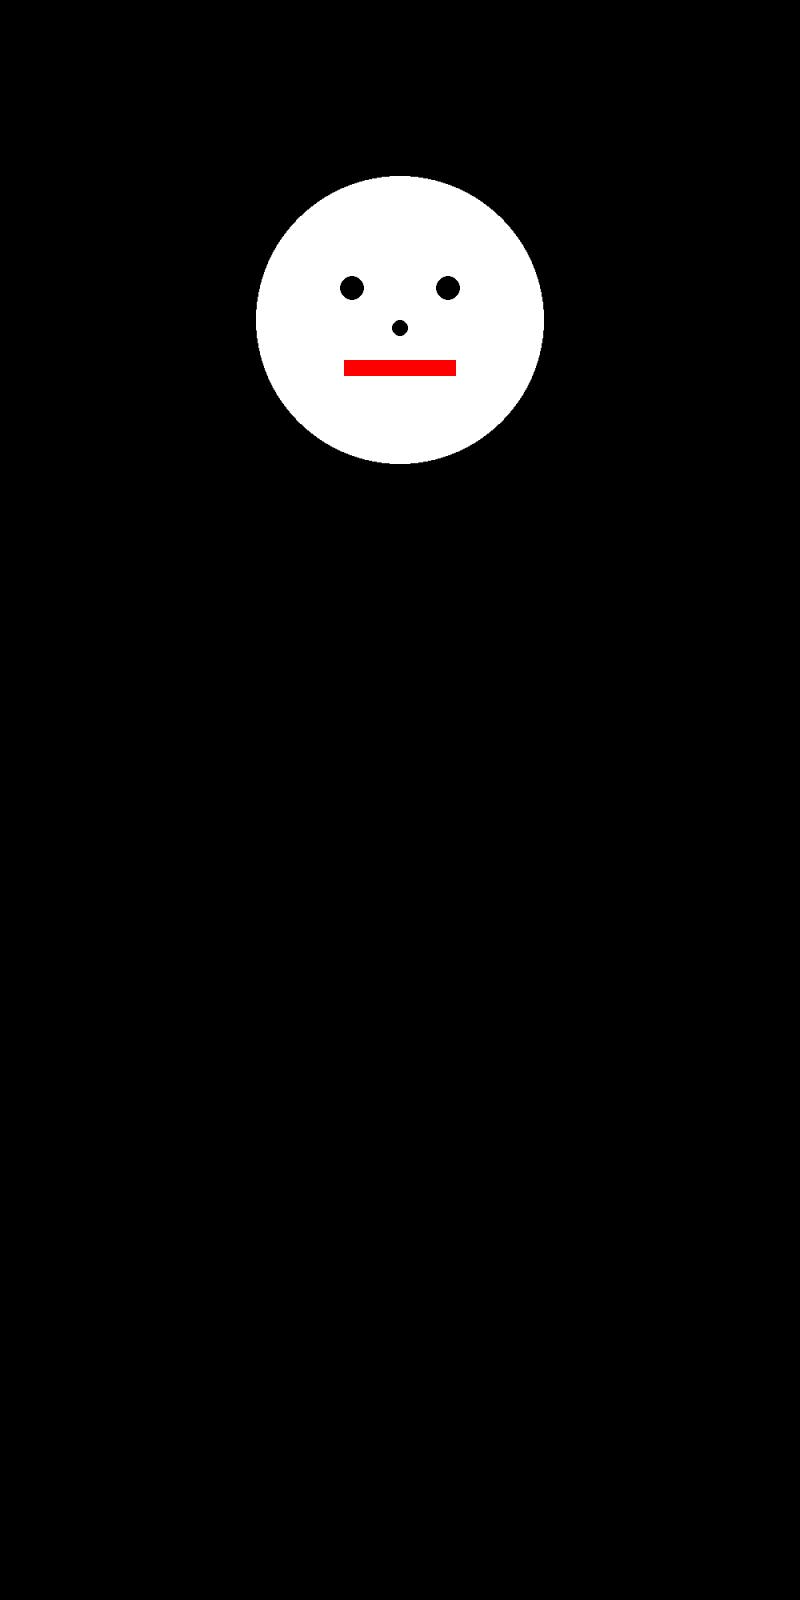
Finally, we will add eyebrows using pygame.draw.line()
def draw_head(
surface: pygame.Surface,
black: tuple[int, int, int],
white: tuple[int, int, int],
red: tuple[int, int, int],
) -> None:
pygame.draw.circle(surface, white, (500, 400), 180)
pygame.draw.circle(surface, black, (440, 360), 15)
pygame.draw.circle(surface, black, (560, 360), 15)
pygame.draw.circle(surface, black, (500, 410), 10)
pygame.draw.rect(surface, red, (430, 450, 140, 20))
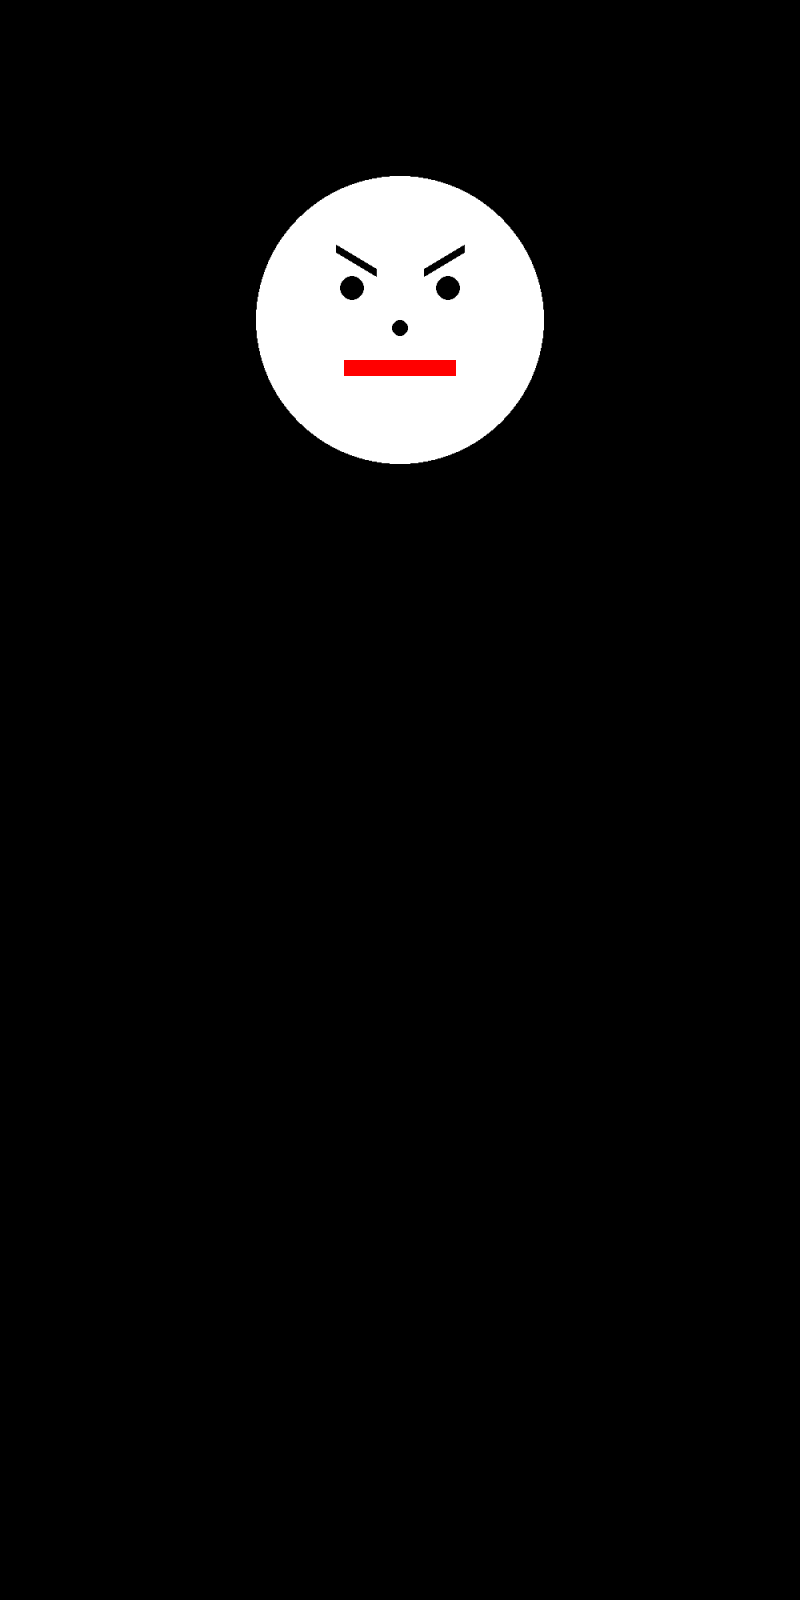
# add eyebrows (thick black lines)
pygame.draw.line(surface, black, (420, 310), (470, 340), 10)
pygame.draw.line(surface, black, (580, 310), (530, 340), 10)
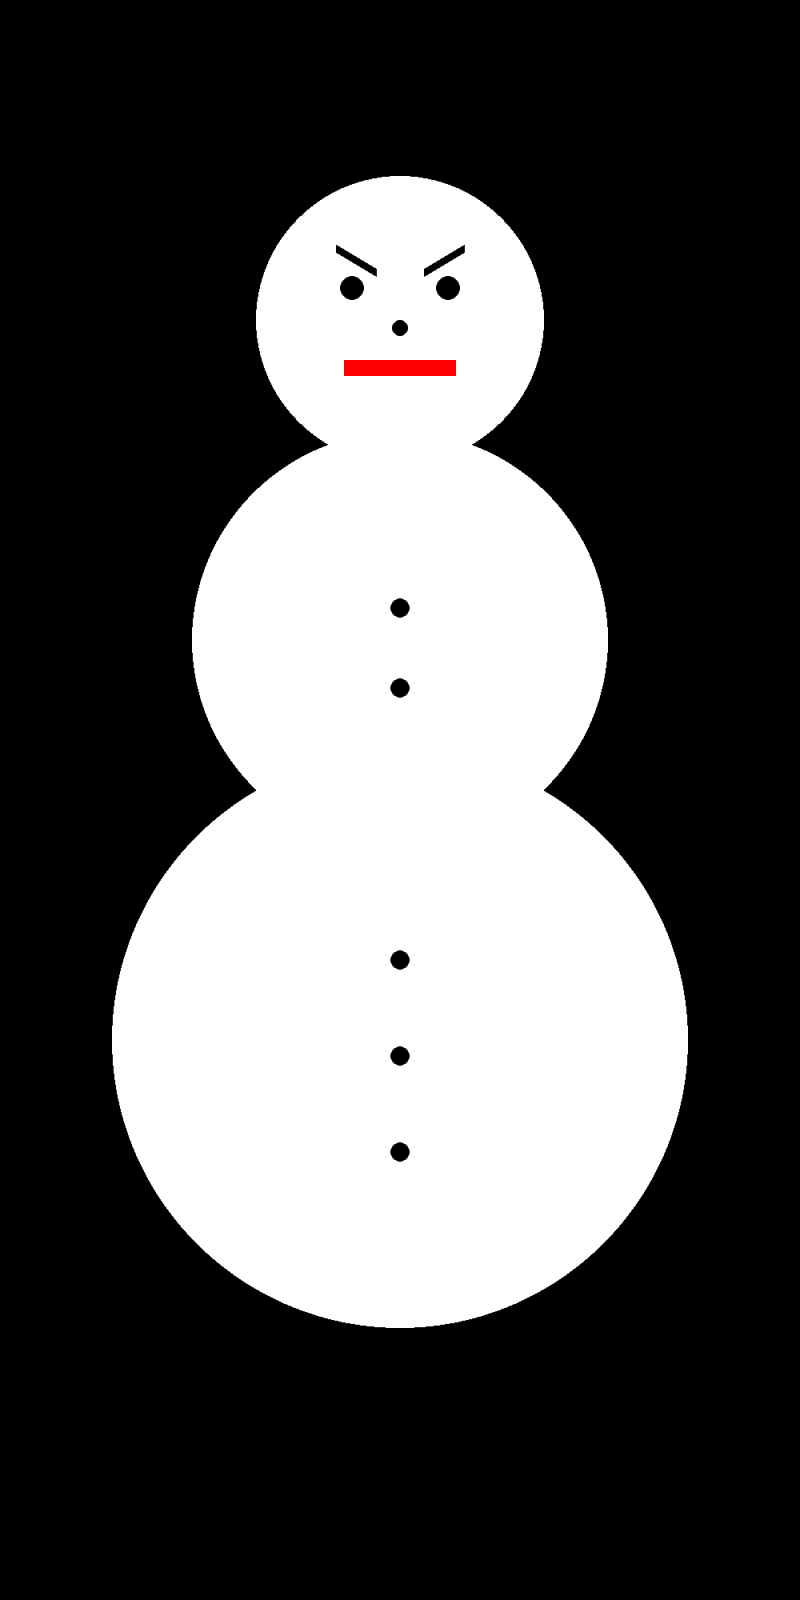
Running the program now produces the completed head below.
Drawing the middle
Next, we will draw the middle circle of the snowperson below the head. In addition to another larger circle, we will add two buttons as small black circles.
def draw_middle(
    surface: pygame.Surface,
    black: tuple[int, int, int],
    white: tuple[int, int, int],
) -> None:
    pygame.draw.circle(surface, white, (500, 800), 260)

    pygame.draw.circle(surface, black, (500, 760), 12)
    pygame.draw.circle(surface, black, (500, 860), 12)
Drawing the bottom
Finally, we draw the bottom circle of the snowperson and add three buttons down the center.
def draw_bottom(
    surface: pygame.Surface,
    black: tuple[int, int, int],
    white: tuple[int, int, int],
) -> None:
    pygame.draw.circle(surface, white, (500, 1300), 360)

    pygame.draw.circle(surface, black, (500, 1200), 12)
    pygame.draw.circle(surface, black, (500, 1320), 12)
    pygame.draw.circle(surface, black, (500, 1440), 12)
Full program
Putting everything together, we uncomment draw_middle() and draw_bottom() in draw_snowperson() our complete main.py is shown below.
def main():
    print("Drawing a snowperson.")

    pygame.init()

    width, height = 1000, 2000
    surface = pygame.Surface((width, height))

    black = (0, 0, 0)
    white = (255, 255, 255)
    red = (255, 0, 0)

    surface.fill(black)

    draw_snowperson(surface, black, white, red)

    pygame.image.save(surface, "snowperson.png")

    pygame.quit()
Before we run our code, let’s think about the colors. Right now we pass black, white, and red to draw_snowperson(), but colors in Python are just variables — we can declare them however we like. After taking suggestions from the class, we settle on yellow, orange, and pink, and update our call accordingly.
    yellow = (255, 204, 0)
    orange = (255, 102, 0)
    pink = (255, 153, 204)

    surface.fill(black)

    draw_snowperson(surface, yellow, pink, orange)

    pygame.image.save(surface, "snowperson.png")
Running our updated code, we obtain the more festive snowperson below.
Drawing the R Pentomino
Now that we can draw objects with pygame, let’s apply our new skills to draw the infamous Game of Life pattern called the R pentomino. Rather than reading a board from a file, we will represent it directly in code as a two-dimensional list of boolean values.
Representing the R Pentomino as a 2D array
We will represent a Game of Life board as a two-dimensional list of boolean values, where True means a cell is alive and False means it is dead. The R pentomino is a five-cell pattern that fits inside a 5×5 grid and produces surprisingly complex long-term behavior, eventually generating six gliders.
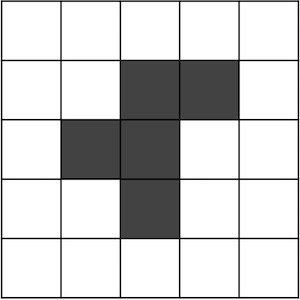
To represent this in code, we create a 5×5 grid initialized entirely to False using a list comprehension, then manually set the five live cells to True.
num_rows = 5
num_cols = 5

r_pentomino = [[False] * num_cols for _ in range(num_rows)]

# set the live cells
r_pentomino[1][2] = True
r_pentomino[1][3] = True
r_pentomino[2][1] = True
r_pentomino[2][2] = True
r_pentomino[3][2] = True
We will add this code to main() along with a cell_width parameter (the number of pixels per side for each cell) and a scaling_factor that we will use to slightly shrink the radius of each circle so that adjacent live cells have a small gap between them. We place all of this before the pygame.quit() call.
def main():
    print("Drawing a snowperson.")

    pygame.init()

    width, height = 1000, 2000
    surface = pygame.Surface((width, height))

    black = (0, 0, 0)
    white = (255, 255, 255)
    red = (255, 0, 0)
    yellow = (255, 204, 0)
    orange = (255, 102, 0)
    pink = (255, 153, 204)

    surface.fill(black)

    draw_snowperson(surface, yellow, pink, orange)

    pygame.image.save(surface, "snowperson.png")

    cell_width = 500
    scaling_factor = 0.8

    num_rows = 5
    num_cols = 5

    r_pentomino = [[False] * num_cols for _ in range(num_rows)]

    r_pentomino[1][2] = True
    r_pentomino[1][3] = True
    r_pentomino[2][1] = True
    r_pentomino[2][2] = True
    r_pentomino[3][2] = True

    pygame.quit()
Writing draw_game_board()
We now write draw_game_board(), which takes a board and returns a pygame.Surface with each live cell drawn on it. Its five parameters are:
board: the 2-D list of booleans.live_color: RGB tuple for alive cells.dead_color: RGB tuple for dead cells (also used as the background).cell_width: width and height in pixels of each cell.scaling_factor: a float multiplied by the cell radius when drawing, so that neighboring live cells don’t touch.
We start with the function signature and docstring.
def draw_game_board(board: list[list[bool]], live_color: tuple[int, int, int], dead_color: tuple[int, int, int], cell_width: int, scaling_factor: float) -> pygame.Surface:
    """
    Draws a Game of Life board to a pygame.Surface object.

    Parameters:
    - board: 2-D list of booleans (True = alive, False = dead)
    - live_color: RGB color tuple for live cells
    - dead_color: RGB color tuple for dead cells
    - cell_width: width and height in pixels of each cell
    - scaling_factor: multiplier applied to the cell radius when drawing

    Output:
    - pygame.Surface representing the drawn board.
    """
Next, we compute the total width and height of the surface by multiplying the number of columns (or rows) by cell_width. We create the surface and fill it with dead_color, so every cell starts out dead.
def draw_game_board(board: list[list[bool]], live_color: tuple[int, int, int], dead_color: tuple[int, int, int], cell_width: int, scaling_factor: float) -> pygame.Surface:
    """
    Draws a Game of Life board to a pygame.Surface object.

    Parameters:
    - board: 2-D list of booleans (True = alive, False = dead)
    - live_color: RGB color tuple for live cells
    - dead_color: RGB color tuple for dead cells
    - cell_width: width and height in pixels of each cell
    - scaling_factor: multiplier applied to the cell radius when drawing

    Output:
    - pygame.Surface representing the drawn board.
    """
    width = cell_width * len(board[0])
    height = cell_width * len(board)
    surface = pygame.Surface((width, height))

    surface.fill(dead_color)
We are now ready to range over every cell in board and draw a shape on the surface for each alive cell. Since the background is already dead_color, we only need to act when a cell is alive.
The key question is where exactly to draw each cell. Recall that in the graphics coordinate system, x-coordinates increase rightward and y-coordinates increase downward — and in a 2D array, the column index increases rightward and the row index increases downward. So the top-left corner of cell board[row][col] in pixel coordinates is (col * cell_width, row * cell_width). We first draw each alive cell as a filled rectangle using pygame.draw.rect(), which takes the surface, color, and a tuple (x, y, width, height).
def draw_game_board(board: list[list[bool]], live_color: tuple[int, int, int], dead_color: tuple[int, int, int], cell_width: int, scaling_factor: float) -> pygame.Surface:
    """
    Draws a Game of Life board to a pygame.Surface object.

    Parameters:
    - board: 2-D list of booleans (True = alive, False = dead)
    - live_color: RGB color tuple for live cells
    - dead_color: RGB color tuple for dead cells
    - cell_width: width and height in pixels of each cell
    - scaling_factor: multiplier applied to the cell radius when drawing

    Output:
    - pygame.Surface representing the drawn board.
    """
    width = cell_width * len(board[0])
    height = cell_width * len(board)
    surface = pygame.Surface((width, height))

    surface.fill(dead_color)

    for row in range(len(board)):
        for col in range(len(board[0])):
            if board[row][col]:
                x = col * cell_width
                y = row * cell_width

                pygame.draw.rect(surface, live_color, (int(x), int(y), cell_width, cell_width))

    return surface
Here is what this produces for the R pentomino.

Improving our visualization
The squares look a little blocky. Let’s replace each rectangle with a circle instead. To center a circle inside cell board[row][col], we add cell_width / 2 to both the x and y coordinates of the top-left corner. We use cell_width / 2 as the radius so the circle exactly fills the cell. We replace the innermost block of draw_game_board() as follows.
            if board[row][col]:
                x = col * cell_width + cell_width / 2
                y = row * cell_width + cell_width / 2

                pygame.draw.circle(surface, live_color, (int(x), int(y)), int(cell_width / 2))
After running our code, we obtain the illustration below. The circles are a nice improvement, but notice that neighboring live cells touch — which will make the board harder to read, especially in animations.

Let’s reduce the radius by multiplying it by scaling_factor, which we already have as a parameter. We compute radius once before the loops to avoid recomputing it on every iteration, then pass it to pygame.draw.circle().
def draw_game_board(board: list[list[bool]], live_color: tuple[int, int, int], dead_color: tuple[int, int, int], cell_width: int, scaling_factor: float) -> pygame.Surface:
    """
    Draws a Game of Life board to a pygame.Surface object.

    Parameters:
    - board: 2-D list of booleans (True = alive, False = dead)
    - live_color: RGB color tuple for live cells
    - dead_color: RGB color tuple for dead cells
    - cell_width: width and height in pixels of each cell
    - scaling_factor: multiplier applied to the cell radius when drawing

    Output:
    - pygame.Surface representing the drawn board.
    """
    width = cell_width * len(board[0])
    height = cell_width * len(board)
    surface = pygame.Surface((width, height))

    surface.fill(dead_color)

    radius = scaling_factor * (cell_width / 2)

    for row in range(len(board)):
        for col in range(len(board[0])):
            if board[row][col]:
                x = col * cell_width + cell_width / 2
                y = row * cell_width + cell_width / 2

                pygame.draw.circle(surface, live_color, (int(x), int(y)), int(radius))

    return surface
Calling draw_game_board() from main()
With draw_game_board() in place, we update main() to call it with our R pentomino and save the result to r_pentomino.png.
def main():
    print("Drawing a snowperson.")

    pygame.init()

    width, height = 1000, 2000
    surface = pygame.Surface((width, height))

    black = (0, 0, 0)
    white = (255, 255, 255)
    red = (255, 0, 0)
    yellow = (255, 204, 0)
    orange = (255, 102, 0)
    pink = (255, 153, 204)

    surface.fill(black)

    draw_snowperson(surface, yellow, pink, orange)

    pygame.image.save(surface, "snowperson.png")

    cell_width = 500
    scaling_factor = 0.8

    num_rows = 5
    num_cols = 5

    r_pentomino = [[False] * num_cols for _ in range(num_rows)]

    r_pentomino[1][2] = True
    r_pentomino[1][3] = True
    r_pentomino[2][1] = True
    r_pentomino[2][2] = True
    r_pentomino[3][2] = True

    pentomino_surface = draw_game_board(r_pentomino, white, black, cell_width, scaling_factor)
    pygame.image.save(pentomino_surface, "r_pentomino.png")

    pygame.quit()
STOP: Run your code. You should see a new filer_pentomino.pngappear in yourpython/src/drawingdirectory.
When we run our code, we obtain the R pentomino shown below.

Looking ahead
Now that we can represent a Game of Life board as a 2D boolean array and visualize it, we are ready to implement the automaton itself, computing new generations and animating the board over time. Join us in the next code along!